Remote Desktop Configuration
Enabling Remote Desktop Protocol
This is a guide on how to enable remote desktop protocol on your computer. This will allow remote access to your computer on-campus.
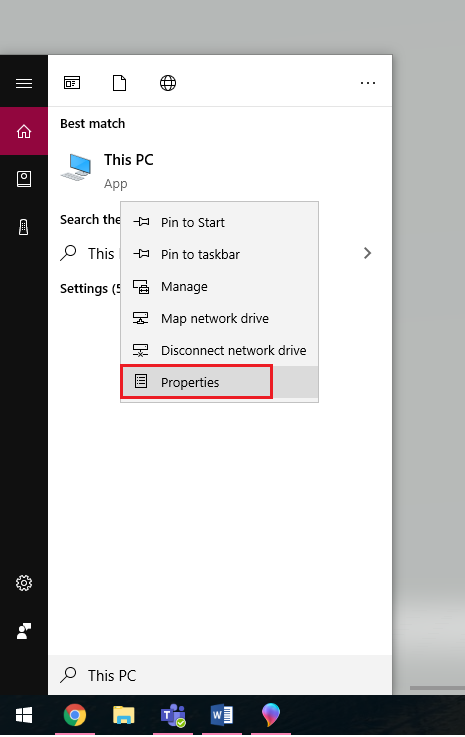
Click the on the start menu and search for “This PC” then right-click on “This PC” and select “Properties”
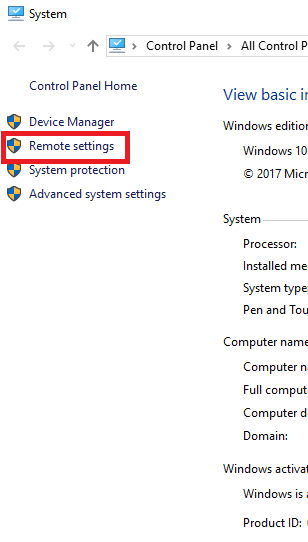
Once the System Window is open, select “Remote Settings” on the left-hand side
Navigate to the “Remote” tab within the system properties window and check the box that says “Allow remote connections to this computer.” Apply the changes and exit.
NOTE: For added security, check the box that says “Allow connections only from computers running Remote Desktop with Network Level Authentication.” This will prevent users outside the network from connecting to the computer. Using Cisco VPN will only work to connect to your computer.
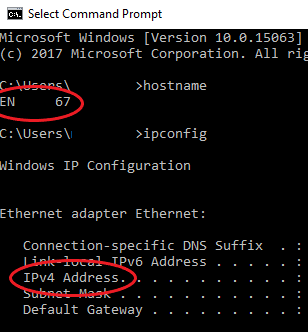
You will then need to take note of the name or IP address of the computer by entering “hostname” or “ipconfig” into the Command Prompt on the computer you would like to connect to (as shown below).
Connecting to your computer remotely
On another computer, click the start menu and type “Remote Desktop Connection” in the search bar. Select “Remote Desktop Connection” from the list.
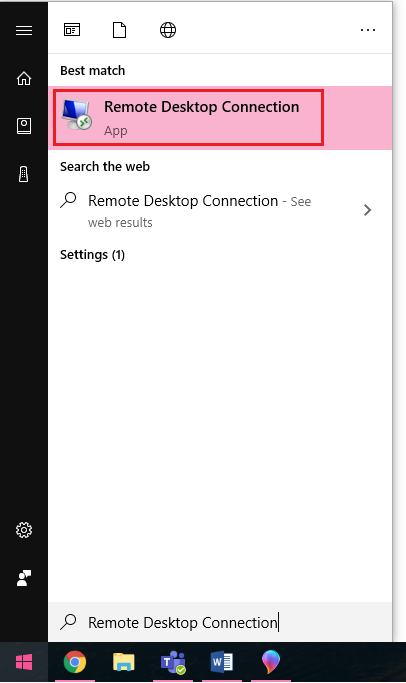
In the Remote Desktop Connection window, type the name or IP address of the computer you would like to connect to that you noted earlier from the computer you want to make a connection to.
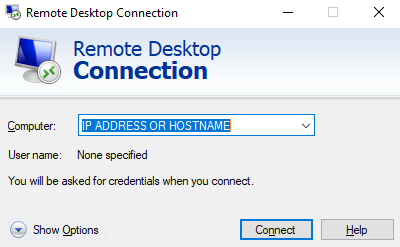
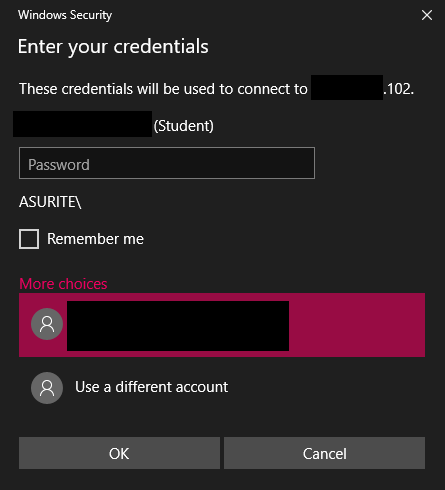
After you enter the proper IP address or hostname, you will be prompted to enter your (ASURITE) credentials and you will be connected to the machine remotely.
